How to Remove Gel Nail Polish at Home Quickly — Without Totally Ruining Your Nails
by Ycoscelia
It's quick and easy with some foil, acetone, and cotton.
When getting to the nail salon isn't an option, it's important to know how to remove your grown-out gel manicure at home. As tempting as it may be, picking or peeling the lacquer off can cause serious long-term damage to your nail beds since it’s not just the color you’re removing: It’s very likely you’re peeling a layer of your natural nail plate too. The results of delamination are weak, thin, and look worn-out. They're also super susceptible to breakage.
The good news is that you easily remove that long-lasting, chip resistant U.V. manicure with items that you probably already have at home. Our simple gel nail removal guide will give you a fresh start while keeping nails healthy. Here's how to remove gel nail polish the nail technician-approved way and you can do it at home!
The good news is that you easily remove that long-lasting, chip resistant U.V. manicure with items that you probably already have at home. Our simple gel nail removal guide will give you a fresh start while keeping nails healthy. Here's how to remove gel nail polish the nail technician-approved way and you can do it at home!
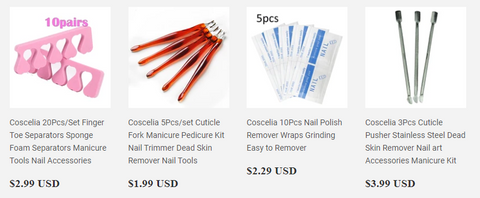
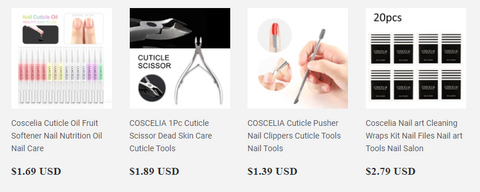
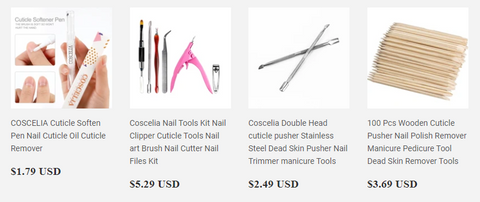
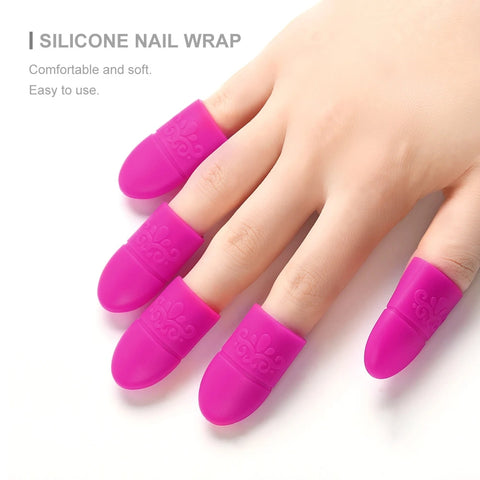
Tools You'll Need to Remove Gel Nail Polish
1. File the shine off your gel polish.You know that clear, glossy top coat you get at the end of your gel manicure to seal in your polish? It's time for that to go. You’re essentially giving your remover a head start and one less coat to break down during the soak off time.
Use a nail file to buff away the surface layer of manicure. When you think you've removed the last of your top coat, place your hand under a light and inspect your nails. Any remaining shiny patches will reveal where you still need to file. But heads up: If you start seeing spots of natural nail, you've gone too far. You still want to see some color on the nails before you soak, to ensure you are protecting the integrity of your natural nails.
2. Soak cottonballs in nail polish remover.
While acetone-free nail polish removers may work fine for regular polish, you should probably stick to the strong stuff when removing gel manicures. I highly recommend an acetone-based remover because it will break down the product quicker.
Fill a small dish with nail polish remover and soak 10 cotton balls (not cotton pads, which don't saturate as well as cotton balls). Cotton balls are also smaller and better fit your nail, which means less harsh acetone on your cuticles.
3. Secure cotton balls to your fingernails with aluminum foil.
Place an acetone-soaked cotton ball on top of your nail, then wrap a small piece of aluminum foil around your nail to hold the cotton ball in place. Once all ten digits are wrapped up, sit back and relax for 15-20 minutes will the nail polish remover does its thing. Once you remove the foil, the nail polish should look like it's fall off of your nail.

4. Gently buff away the remaining polish.
Gently being the key word here. Applying just a little pressure, use your cuticle stick or manicuring brush to scrape away the the remaining polish. If the polish isn't sliding off with minimal pressure, that's a sign that it needs more nail polish remover: Soak a fresh cotton ball, and wrap it up with aluminum foil for a few more minutes before nudging off the rest of the polish.
5. Apply cuticle oil.
Acetone also removes the natural oils and moisturizer from your nail plate in addition to polish, which can leave you with brittle nails. Keep your nails healthy and strong by applying some cuticle oil post-removal.
Share this
Explore more
- 5D magic eye gel
- DIY
- foot manicure
- gradient nail art
- hot-girl style nail art
- how to use
- manicure
- nail art
- nail art with clothes style
- nail design
- nail gel
- nail polish
- Poly Gel
- sislady
- summer nail art


Leave a comment