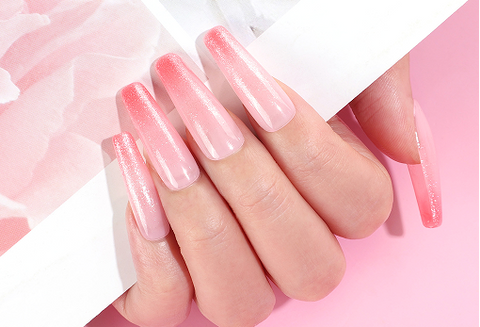
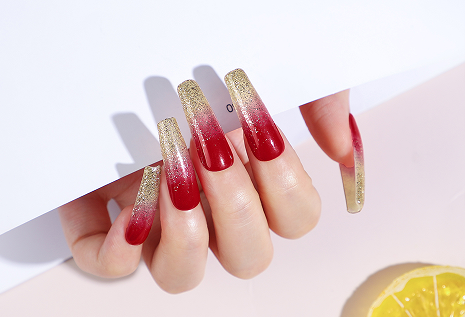
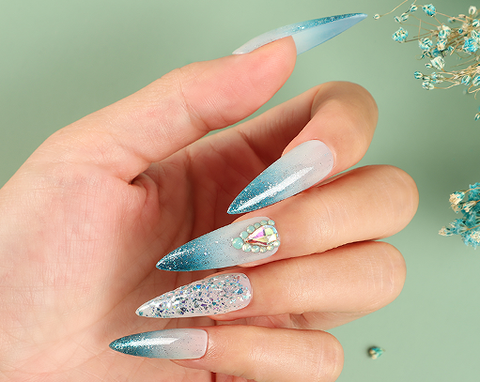
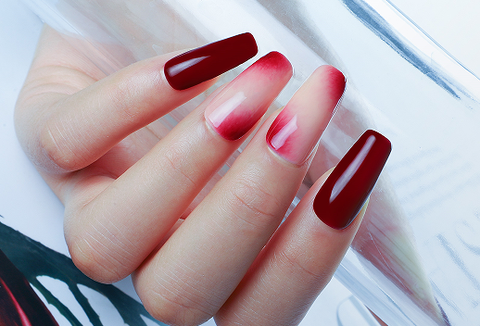
How to make a nice gradient nail art
A gradient manicure is a gradient effect on the nails, usually from the root to the tip of the nail with a darker color. It takes a lot of work to make a perfect gradient nail, but as long as you use your brain and hands, you can create beautiful gradient nails with your own hands.
Step 1 : Apply base coat
The purpose of the base coat is to strengthen the nails, isolate the nails from the gel polish, and protect the nails from too much damage from the gel polish. As the base coat is relatively thin, so casually painted can be painted very well, is to pay attention to the process of waiting for the base coat to dry do not have any big action, so as not to destroy the base coat affect the subsequent color.
Step 2:Paint the whole nail surface
After the base coat has dried, choose a color you like and paint a thin layer on the entire nail surface. The base color should be divided into two coats, each time a thin layer, the interval of 5-10 minutes, to let the gel polish dry. The final result will look good if the base color is done well.
Many people complain that every time you paint gel polish, more or less will appear some problems, what paint unevenly, paint out of bounds, and so on. In fact, it is all because of the incorrect painting method. When painting gel polish, we should brush the center first, and then brush the two sides. When brushing the middle part of the nail, the bristles stay in the middle of the nail, push upward to the root of the nail, and then brush downward, which can prevent the gel polish overflowing to the fingers.
Step 3:Paint one-half of the nail surface
This step and the previous step are both painted gel polish, but the methods can be very different. In order to create a more pronounced gradient effect, we need to gently paint from the top of the nail down to one-half of the nail surface. Starting from the top of the nail should be slightly heavier, the lower the strength of the lower, so that the gradient effect will not be particularly hard.
Step 4 : Paint the top quarter
This step is relatively simple, only need to paint a small part of the top, and deepen the color can be. The general method is the same as step 3, all from the top to the bottom of the brush, there is no special need to pay attention to the place.
Step 5 : Apply top coat
The role of the top coat is to consolidate the gel polish, so that it does not easily fall off, in general, is a step to add points to the nail art. The method of painting is the same as that of the base coat, which is rather thin and can be painted casually.
Save your thumbs for last, so that even if you accidentally put gel polish on the outside of your nails, you can scrape it off with your thumbs. But clean your fingers with gel polish remover before applying your thumbs. If you have applied petroleum jelly around your nails to prevent gel polish from getting on your hands, then be careful not to get any petroleum jelly on your nails or the polish won't stick.
I hope the steps and notes in this installment will be helpful to you, so take action if you want to try it out!
🎯Instagram:https://www.instagram.com/coscelia_official/
🎯Facebook:https://www.facebook.com/CosceliaOfficial/
🎯Youtube:https://www.youtube.com/channel/UCTmhHb6qj26Qu87_D6qAdkw
🎯Tiktok:https://www.tiktok.com/@coscelia_nail_official?lang=en&is_copy_url=1&is_from_webapp=v1

Leave a comment